
Capturing stunning videos with your GoPro or a similar action camera is an exhilarating experience, but there’s more to creating exceptional content than just great visuals. High-quality audio is the often overlooked yet crucial element that can take your videos from good to great. However, many action cameras, by design, focus heavily on video quality, sometimes at the expense of sound. This is where an action camera microphone attachment comes into play. In this guide, we’ll explore why an external microphone is essential, how to choose the right one, and how it can elevate your video projects to the next level.
Why You Need an Action Camera Microphone Attachment
The Limitations of Built-in Microphones
Most action cameras, including popular models like the GoPro and DJI Osmo Pocket, are engineered with built-in microphones that are adequate for basic recording. However, these microphones are often limited in their ability to capture clear and crisp audio, especially in noisy or challenging environments. Wind noise, water, and background sounds can all severely degrade the quality of the audio recorded by built-in mics.
The Importance of High-Quality Audio
Clear audio is vital for delivering a professional feel to your videos. Whether you’re vlogging, capturing extreme sports, or recording a documentary, poor sound quality can distract viewers and diminish the overall impact of your content. By using an external microphone through an action camera microphone attachment, you can ensure that your audio is as clear and immersive as your visuals.
Types of Microphone Attachments for Action Cameras
External Microphones
External microphones are a popular choice for enhancing audio quality. They come in various forms, including lavalier microphones, shotgun microphones, and wireless options, each serving different purposes depending on your recording environment and needs.
Lavalier Microphones
Lavalier microphones, also known as lapel mics, are small and can be clipped onto clothing. They are perfect for interviews, vlogging, or any scenario where the subject is stationary or moving within a confined area. These microphones excel at picking up voice audio while minimizing background noise.
Shotgun Microphones
Shotgun microphones are highly directional, meaning they pick up sound primarily from the direction they are pointed at while ignoring sound from the sides and rear. This makes them ideal for outdoor filming or situations where you need to focus on a specific audio source, such as in action sports or wildlife filming.
Wireless Microphones
Wireless microphones offer flexibility by allowing you to move freely without being tethered to your camera. They are especially useful for dynamic shooting environments where the subject moves around a lot, like in sports or live event coverage.
Adapters for Microphone Attachments
In many cases, you’ll need an adapter to connect an external microphone to your action camera. These adapters are designed to bridge the gap between your camera and the microphone, ensuring compatibility and stable audio capture.
USB-C and 3.5mm Adapters
Most modern action cameras, including GoPro models, lack a 3.5mm audio input, requiring a USB-C to 3.5mm adapter to connect an external microphone. These adapters are compact, easy to use, and crucial for integrating high-quality microphones with your camera.
Proprietary Adapters
Some cameras require proprietary adapters designed specifically for them. For example, the DJI Osmo Pocket has a dedicated adapter for external microphones. While these can be more expensive, they ensure optimal functionality and ease of use.
How to Choose the Right Action Camera Microphone Attachment
Consider Your Recording Environment
The first step in choosing the right microphone attachment is to consider the environment in which you’ll be filming. Are you shooting in a controlled indoor setting, or will you be outdoors with potential wind and environmental noise? Your choice of microphone should be tailored to these conditions.
Indoor Filming
For indoor filming, lavalier microphones or small, unobtrusive shotgun mics can be ideal. These mics are designed to capture clear voice audio without picking up too much ambient noise.
Outdoor Filming
If you’re filming outdoors, especially in windy or noisy environments, a shotgun microphone with a windscreen (often called a “dead cat”) can be invaluable. These mics are designed to focus on the sound directly in front of them while minimizing wind and other environmental noises.
Compatibility with Your Camera
Ensure that the microphone attachment you choose is compatible with your action camera. Check if you need a specific adapter and whether your camera model supports the microphone type you intend to use.
Portability and Durability
Action cameras are often used in rugged environments, so it’s important that your microphone attachment is portable and durable. Look for microphones that are lightweight, easy to attach and detach, and built to withstand the elements.
Budget Considerations
Microphone attachments come in a wide range of prices, from budget-friendly options to high-end professional gear. Consider your budget and how much you’re willing to invest in audio equipment. Remember, even a modest investment can significantly improve your video’s audio quality.
Setting Up Your Action Camera Microphone Attachment
Attaching the Microphone
Once you’ve chosen the right microphone and adapter, the next step is to attach it to your action camera. This process is typically straightforward:
- Connect the Adapter: If your camera requires an adapter, plug it into the appropriate port (e.g., USB-C or micro-USB).
- Attach the Microphone: Plug the microphone into the adapter or directly into the camera if it has a compatible port.
- Secure the Microphone: Use any provided clips, mounts, or brackets to secure the microphone to your camera or a nearby surface. Ensure it’s stable and won’t move during filming.
Adjusting Audio Settings
Depending on your action camera, you may have access to various audio settings that can be adjusted to optimize sound quality. This can include:
- Gain Control: Adjust the input level to avoid distortion or overly quiet audio.
- Wind Reduction: Enable this feature if you’re filming in a windy environment.
- Stereo/Mono Recording: Choose between stereo for a more immersive sound or mono for focused audio.
Testing Before Filming
Always conduct a test recording to ensure that your microphone is working properly and that the audio levels are appropriate. Listen back to the test footage with headphones to check for clarity, background noise, and overall sound quality.
Top Microphone Attachments for Action Cameras
Rode VideoMicro Compact On-Camera Microphone
The Rode VideoMicro is a popular choice among action camera users. It’s compact, lightweight, and comes with a furry windshield, making it perfect for outdoor filming. It doesn’t require batteries, drawing power directly from the camera, and it’s easy to attach and use with GoPros and other action cameras using an adapter.
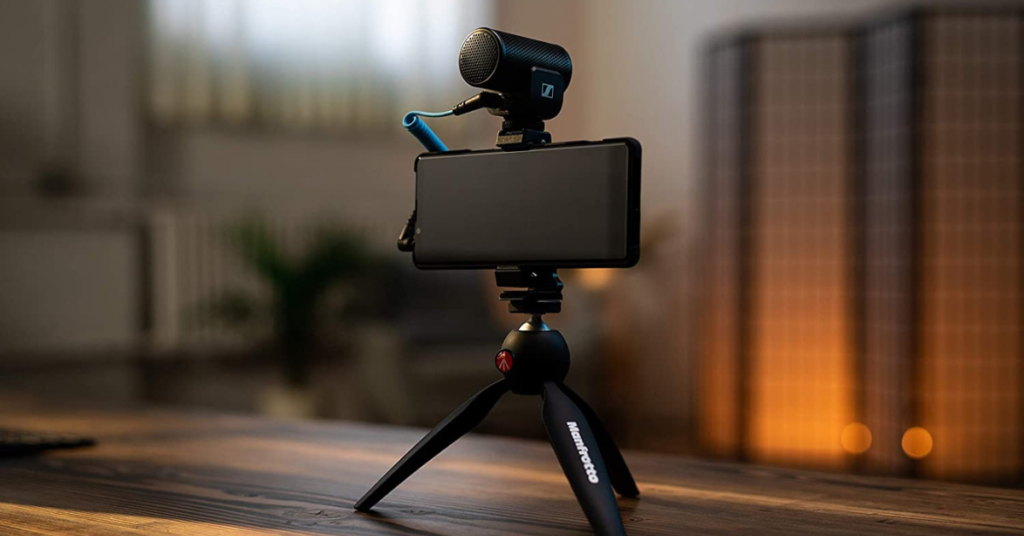
Sennheiser MKE 2 Elements Action Mic
Specifically designed for GoPro cameras, the Sennheiser MKE 2 Elements is a durable, waterproof microphone attachment. It’s perfect for extreme sports enthusiasts who need a microphone that can withstand the elements while delivering clear, high-quality audio.
Rode Wireless GO II
For those seeking a wireless option, the Rode Wireless GO II is a versatile and highly portable wireless microphone system. It’s perfect for vloggers and filmmakers who need flexibility in their setup. The system is compatible with action cameras via the appropriate adapter and offers excellent sound quality with the convenience of wireless operation.
DJI Mic
The DJI Mic is another excellent wireless option, particularly for users of DJI action cameras. It offers dual-channel recording, long battery life, and comes with a compact charging case, making it a great choice for on-the-go filming.
Tips for Getting the Best Audio Quality
Use a Windscreen
When filming outdoors, wind noise can significantly degrade audio quality. Always use a windscreen or “dead cat” cover on your microphone to reduce wind interference. This simple accessory can make a big difference in the clarity of your recordings.
Monitor Audio Levels
Many action cameras allow you to monitor audio levels in real-time or through playback. Keeping an eye on these levels can help you avoid clipping (when the audio is too loud and distorts) or overly quiet recordings.
Position the Microphone Correctly
The positioning of your microphone is crucial for capturing the best audio. For shotgun microphones, aim the mic directly at the sound source. For lavalier mics, ensure they are positioned close to the speaker’s mouth but not too close to avoid muffled sound.
Record in a Quiet Environment
Whenever possible, try to film in environments with minimal background noise. If you’re indoors, close windows and doors to block out external sounds. If you’re outdoors, choose locations away from busy roads or loud machinery.
Use External Audio Recorders
For professional-grade audio, consider using an external audio recorder. These devices can capture higher-quality sound than most action cameras and offer more control over audio settings. You can sync the audio with your video in post-production for a polished final product.
Editing and Post-Production Tips
Syncing Audio
If you’re using an external recorder, syncing audio with your video footage is crucial. Many video editing software programs offer easy tools for this, allowing you to match the audio track with your video effortlessly.
Noise Reduction
In post-production, you can use noise reduction tools to minimize background noise and enhance the clarity of your audio. This is especially useful for cleaning up recordings made in less-than-ideal environments.
Equalization and Compression
Applying equalization (EQ) and compression during editing can also improve your audio quality. EQ allows you to adjust the balance of frequencies, enhancing the sound’s richness, while compression helps to smooth out audio levels, ensuring consistent volume throughout your video.
Conclusion
Investing in an action camera microphone attachment is a game-changer for anyone serious about video production. While visuals are undeniably important, audio quality is what truly engages your audience and makes your content stand out. Whether you’re vlogging, creating action-packed sports footage, or documenting your travels, a good microphone attachment will ensure that your videos are not just seen but also heard in the best possible way.
By understanding the types of microphones available, how to choose the right one, and the best practices for recording and editing audio, you can significantly enhance the overall quality of your videos. So, don’t let poor audio hold you back. Equip your action camera with the right microphone attachment and start capturing content that looks—and sounds—professional.